A Step By Step Tutorial On How To Use the 8th Wall Web-Based Augmented Reality Platform
Here’s a step-by-step tutorial on using a cloud-based augmented reality platform. For this example, let’s use ‘8th Wall’, a popular web-based AR platform, to create an AR experience.
Create an account:
- To get started, visit https://www.8thwall.com/ and sign up for a free account. You’ll need to provide an email and create a password.
Access the developer console:

- Once logged in, go to the developer console (https://console.8thwall.com/), where you’ll create and manage your AR projects.
Create a new project:
- Click the “New Project” button, and then select the “Web” option. Give your project a name and click “Create Project.”
Choose a project template:
- 8th Wall offers various project templates to start with. Choose one that best fits your needs, such as “Image Target” or “Face Effects.” Click “Next” to proceed.
Configure project settings:
- On the project settings page, customize the various options to match your requirements. For example, enable location services, provide an app icon, or set up a custom splash screen. Save your changes.
Download project files:
- Click the “Download” button to download your project’s files. Extract the ZIP file to a local folder on your computer.
Edit your project:
- Open the project folder, and you’ll see several files, including “index.html,” “app.js,” and “styles.css.” Edit these files to create your AR experience. You can use any code editor, like Visual Studio Code or Sublime Text.
Add 3D models and assets:

- Include 3D models, images, sounds, and other assets required for your AR experience in the project folder. You can use 3D models in formats such as GLTF or OBJ.
Test your AR experience:
- To test your AR experience locally, you can use a local web server. One simple option is to use the “Web Server for Chrome” extension. Install it and point it to your project folder. Access the provided URL on a mobile device or browser that supports AR.
Deploy to the cloud:
- Once you’ve tested and are satisfied with your augmented reality platform experience, you’ll need to host it on a web server. You can use any hosting provider, such as Amazon S3, Netlify, or Firebase Hosting. Upload your project files and assets to the server.
Update the project settings in the 8th Wall console:
- Go back to the 8th Wall developer console and update your project settings with the hosted URL of your AR experience. Save your changes.
Test your deployed AR experience:

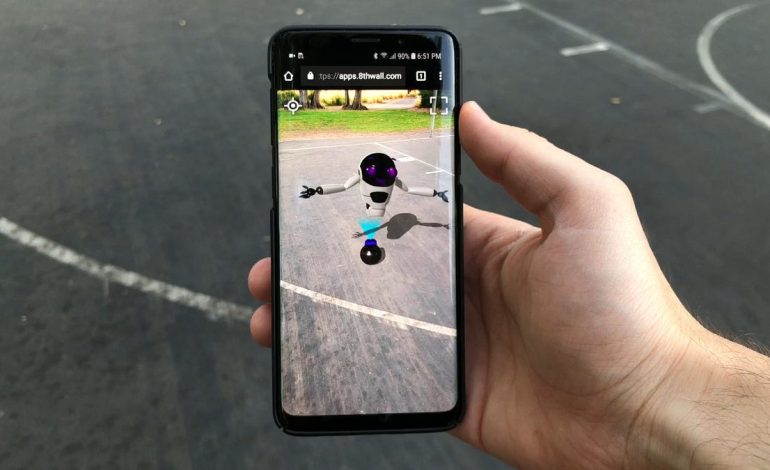
- Access the hosted URL on your mobile device or browser to test the AR experience. If everything works as expected, you can share the URL with others, embed it into your website, or use it in QR codes to make your AR experience accessible to a wider audience.
That’s it! You’ve successfully created and deployed a cloud-based augmented reality platform using the 8th Wall platform.