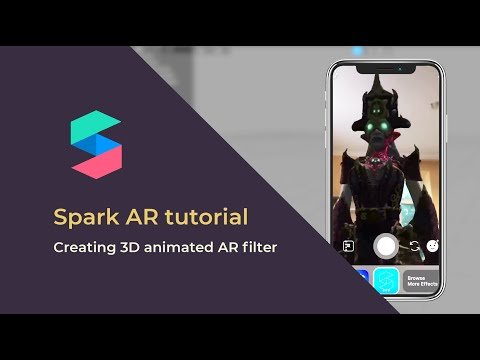
Spark AR tutorial: learn to create your own filter from scratch!
I enjoyed my Christmas and new year’s eve with those amazing filters on Instagram. Did you as well? Filters make these platforms more engaging and fun. Well, if you are a regular reader here, you must have read spark AR in my articles. If you are new or want to revisit you can click here and get a quick look at the introduction of Spark AR its usage and its benefits. We got to know Spark AR tutorial at the beginner level, in this article we will go from beginner to advance. Read on!
Are you excited to execute your creativity and create your own filter? Well, you are in the right place. Here, we will know how to create a filter using spark AR from scratch. If you are a tech nerd, great, if you are not do not worry we can create amazing filters using SparkAR studio in either case. But first thing first-
Some terminologies we should know:
Spark AR studio: Spark AR studio is a free app primarily used to create AR filters for Instagram and Facebook. You can download the app on a desktop or laptop.
Spark AR player: Spark AR player is designed for smartphones. It is used to view the filter that you created using the Spark AR studio. You can download it for free from the Google play store or the Apple app store.
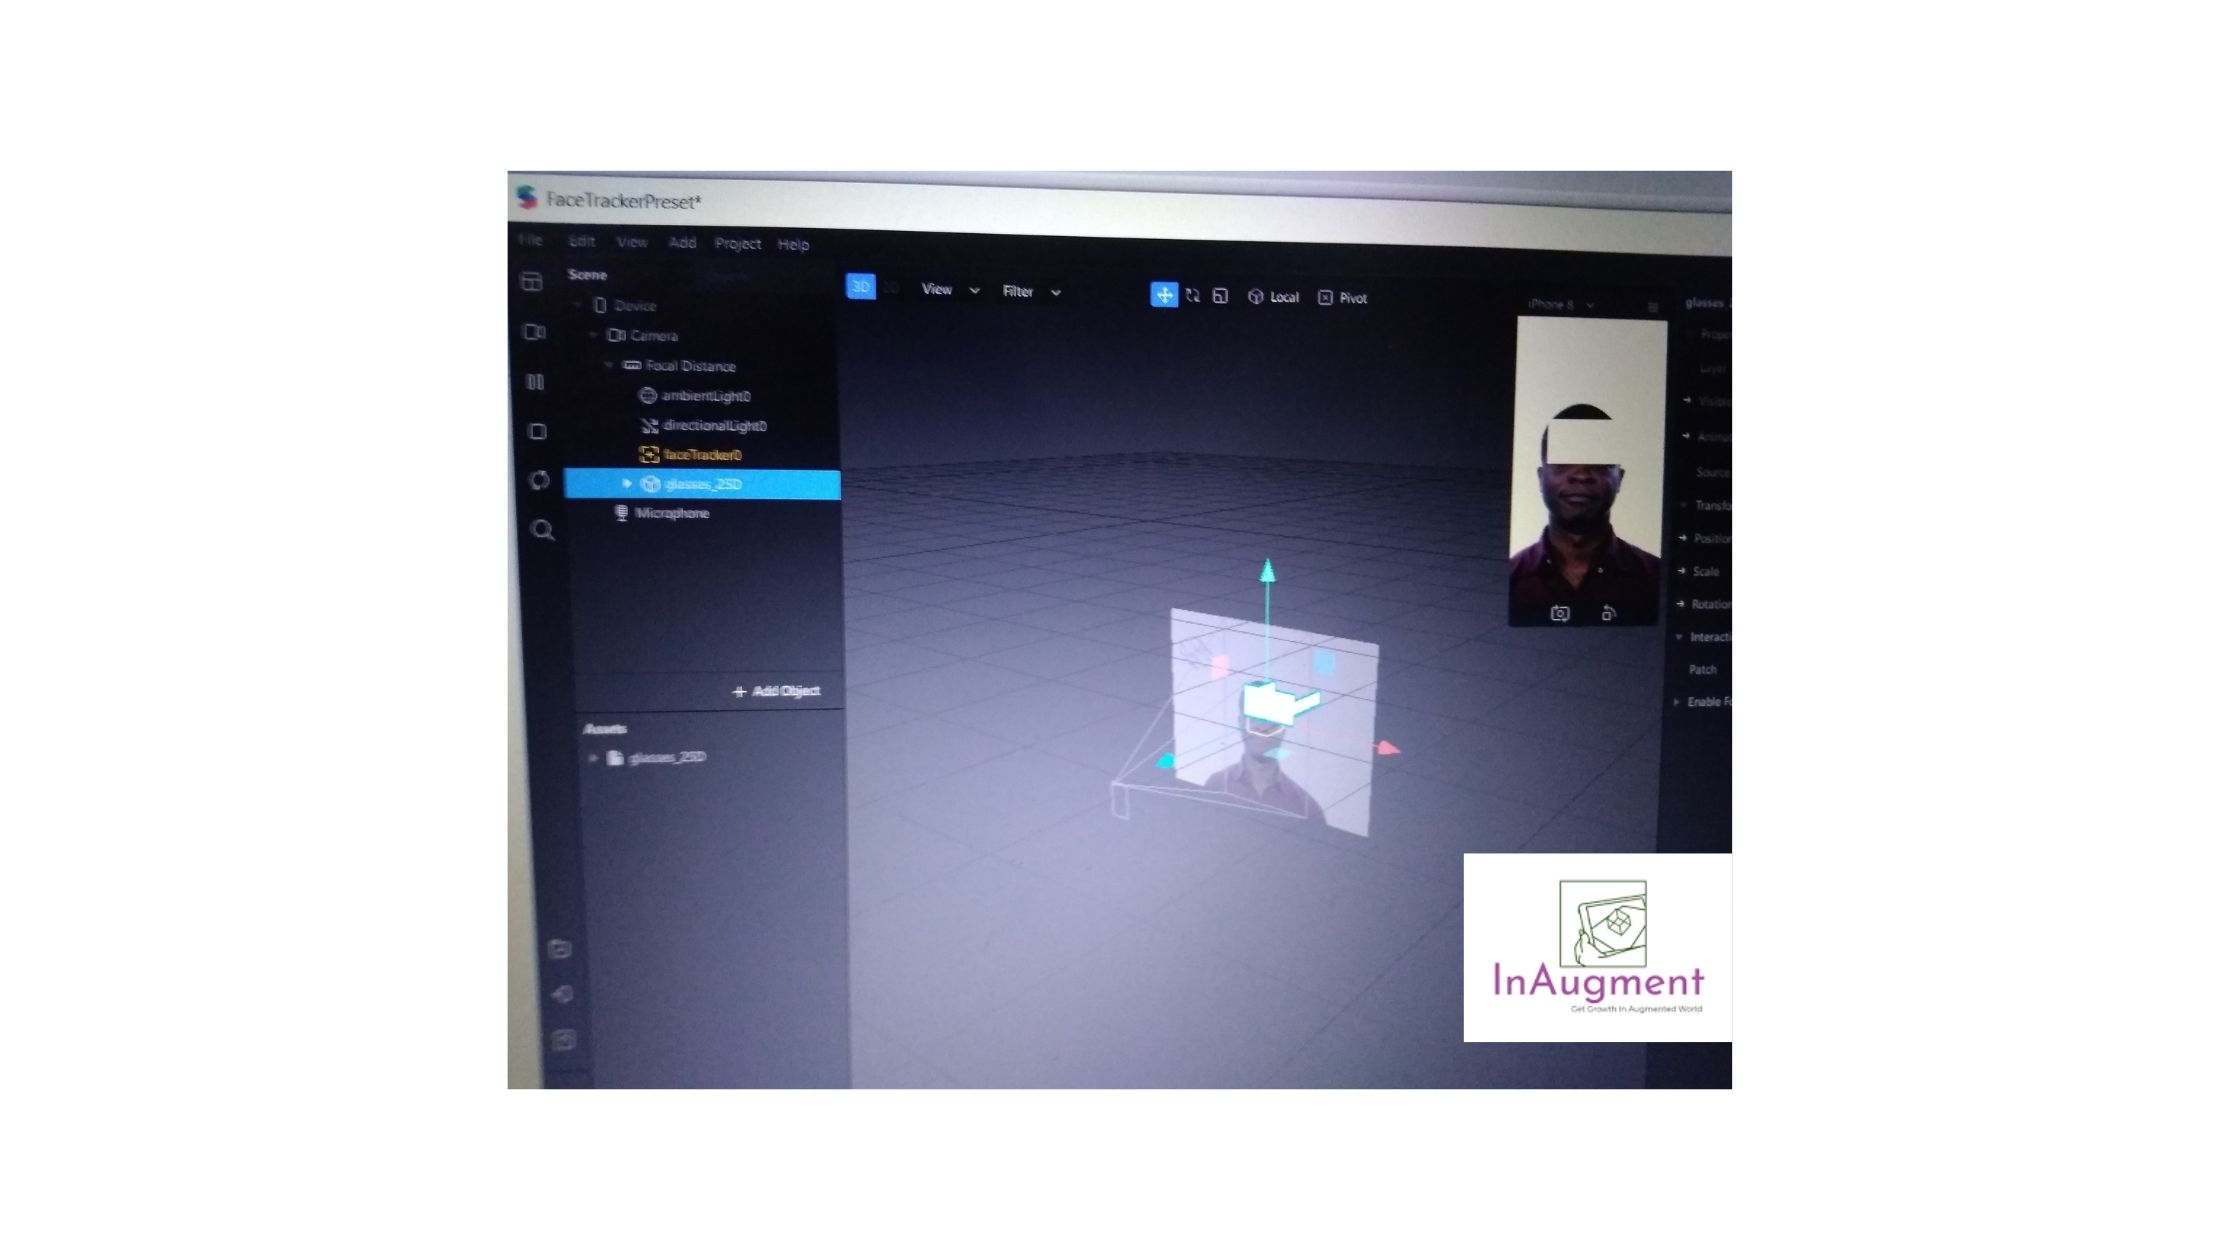
Scene panel: In spark AR studio the panel on the top left is known as the Scene panel. You can add objects in the scene panel such as Face Tracker, Face Mesh, etc.
Asset panel: The panel below the scene panel is known as the asset panel. You can add your design or assets here.
Layer panel: The layer panel is placed just beside the scene panel. It is used to alter layers of your filter.
ViewPort: The screen placed on the top looks like your mobile screen is Viewport. Here you can see changes that you made in your panels. You can change screen rotation as well as the mobile type from here.
Simulator: Simulator is the mid-screen where the x, y, and Z plane is present. Here you can adjust the position of your selected object.
Patch editor: Patch editor is below simulator. Patch editor displays when you need to use patches to enhance your filter.
Inspector: It is present on the right of the screen. Here, we can make changes in the asset and objects that we have selected in the asset panel and scene panel respectively.
Occluders: this term is used when you are creating a filter for the face or head. The occluder is used to cover the 3D object when the head is turned.
Prerequisites:
You need a laptop and smartphone primarily. If you want to try on your social accounts you must have an Instagram and Facebook account. And if you want to try it on your phone, you need a USB cable.
Let’s begin with Spark AR tutorial:
· Download:
To start with the spark AR tutorial, first of all, you need to download Spark AR studio on a Laptop or desktop. To download it visit to spark AR official website or you can click here. Next, click on download. Wait for few minutes until it gets downloaded.
Go to the app store and download Spark AR player on your smartphone. Spark AR player is used to preview the filter that you created. Spark AR studio is used to create the filter. Let us move to the next step in the Spark AR tutorial.
· Quick insight into the spark AR studio:
Spark AR studio by Facebook is used for creating filters for Instagram as well as Facebook. It is equipped with immense features to help you be an excellent creator. It has room for beginners as well as advanced players. With the help of Spark AR studio, you can either add a computer-generated image to your surrounding or take yourself to any corner of the world. AR library has hundreds of audio and sounds, effects, patches, and more. You can use it directly from there or import your own asset from your desktop into the AR library. AR library scripts are issued under MIT License.
· Explore AR library:
If you are a beginner, we recommend you in our Spark AR tutorial to explore all the assets available in the AR library. To open the AR library, click on Spark AR studio on your desktop. Here, sign up with your Facebook account to get started. Then click on ‘New project’. On the screen that opens up click on the file present in the top right corner. Then click on search AR library.
In the AR library, there are thousands of free assets such as 3D objects, patch assets, music and sound, blocks, textures, and script packages. These assets are created by Spark AR creator and Sketchfab. Click on any of these, scroll and select what pleases you. Then click on import free > done.
NOTE: You can change the person in the viewport to yourself or some other options by clicking the video icon placed on the extreme left of your scene panel.
· Explore the view board / Viewport:
Once you select the project you will be directed to the next screen, where on the left-hand side scene panel is present. Here, in this Spark AR tutorial, we will go for face decoration and add glasses. You can opt for whatever pleases you.
Click on a new project then click on Face Tracker. There are three options available Plane tracking, target tracking, and face tracking. If you have selected the project that needs plane tracking such as adding snow then you should select Plane tracking. I have selected here face tracking because glasses are added to the face. Glasses are here a 3D object so it gives a real-like feel.
You can download the sample object or create your own using any photoshop app. Now, go to the asset section and click on add from the computer. Select the sample that you just downloaded or that you have created. If your project is different go to add from the AR library and from there select the asset that you want.
Now, drag the asset you just imported to faceTracker0. You can see the shape of glass tracking the face on your screen which is also called the viewport.
· Create the material:
Now we need to do changes here by creating and adding materials. To create a material you need to add the face mesh. Face mesh is like the child of the face tracker. To add the face mesh right click on the object that you selected -here we have selected Glasses_25D. on the scene panel then click on add then select the Face Mesh that you like. Now you can see the Face Mesh in the viewport as well as in the simulator.
Now, click on Face Mesh, the screen that appears on the right side is called inspector. Here click on the +sign placed next to material and select create new material. Soon we will see a new material added to the face in Viewport and simulator. Next, in the asset plane rename the material to glasses_mat. We rename it to keep the work organized.
· Add texture to the material:
We can add different textures to the material so that users can switch between glasses designs. Click on glasses-mat and on the right side near texture add the designs that you have downloaded in the sample. Now, change texture from a single texture to sequence texture. Then select all designs that you have created or downloaded.
· Animation texture
Click on add asset in the asset panel. Here, select the animation sequence and in the asset panel, you will see it with the name animationsequence0. Now go to glasses_mat in the asset panel. In the inspector click on the dropdown next to texture placed below diffuse. Then select animationsequence0. Now that we have our design on the screen we will move to the next step.
· Create an occluder:
We create an occlude so that when someone turns the head the arm of glass can hide. To create an occlude click on Face Tracker > Add > Face Mesh. The steps are similar to the previous one. Now drag the Face Mesh to the top of the scene panel. Click on it and then in the inspector uncheck the eye and mouth box. Create material and rename it to Occulder_mat. Now click on occluder_mat and change the shader to flat. Reduce opacity to 1% and check the double-sided box.
· Switch glass frames and colour:
You can skip this step if you do not want to switch between glasses or colour. We will use patches to switch between colour and frame. To switch frame click on animation sequences in the asset Panel and in the inspector click the arrow placed next to the current frame. A patch editor will display. Now drag glasses_25D to patch editor. As soon as you will drop to patch editor it will change to purple colour. Here right-click anywhere in the patch editor and in the display box search ‘object tap’ patch and ‘counter patch’. Next, connect the port or arrow of the 4 patches as displayed below.

Spark AR tutorial-Connect Frame Patches:
To change the colour click on glasses_mat. In the inspector choice of any colour here we picked Red. Now click on the arrow next to texture and a patch will be created. Again right-click anywhere in the patch editor and search for screen tap, counter, and option picker. Double click each respectively to bring on the screen. Now connect all the four as displayed below. You can change colour and count as you like.

Spark AR tutorial – Connect Colour Patches:
To see your changes click on the right sidebar of the viewport and select simulate touch. Here, you can see your changes. I have changed the glass colour and frame so when I tap on the frame, the frame changes, and when I tap anywhere on the screen, the colour of the glasses changes. You can see your changes accordingly. Here is my masterpiece!

Spark AR filter:
· Use your filter:
Congratulation! You just created your spark AR filter. Hope this Spark AR tutorial gave you better insight into how to create AR filters. Now let’s see how you can use it There are two ways:
(i) On your smartphone:
To try out the filter on your smartphone, connect your smartphone to the laptop with the help of a USB cable. On your smartphone go to Spark AR player. On your laptop, click on a test to a device placed at the extreme left of your asset panel. Here, you will be notified of your device getting connected. Click on the preview on Spark AR player and then on send. Accept it on your smartphone and whoa! You can have fun with your filter.
(ii) On the Instagram app:
If you want to test on your Instagram or Facebook, click on send to app. Here, you have two options, you can send on Instagram and Facebook. Click on send on whichever account you want to view. You will have a notification on your account from the Spark AR hub. Click on that notification in your app and you can try your filter. Note: You cannot share your filter until you publish it. So, to publish follow bellow given steps:
· Publish your filter:
If you are a creator or you want your friends to have fun with the filter you need to publish it. To publish the filter you have to submit it to the spark AR hub. Check your file size before publishing it. If your file exceeds more than 4MB for Instagram and over 10 MB for Facebook, then you need to compress it. Your file will be auto-checked for size. Here you need to send an icon as well as a sample video of your filter. You can create an icon using any photoshop app. Fill in the necessary details and submit your filter. It takes 2 to 3 working days to get approved.
Wrapping up
Here, in this Spark AR tutorial, we used Face Track and Face mesh as it is used in most of the filters. Accordingly, you can create any kind of filter and have fun. Augmented Reality has revolutionized the way you see and the way we work. A lot of features are yet to roll out which aim to make disruptive changes. I Hope, the Spark AR Tutorial article was helpful to you. Would love to know your view!